If you’re using a Reseller, or Dedicated Hosting plan with StableCluster, you can easily change the primary domain name of any cPanel account through WHM (Web Host Manager).
Before proceeding, it’s important to understand what changes occur when you modify the primary domain.
Important Notes Before You Begin
-
The DNS records of the old domain will be deleted, and new default records will be created for the updated domain.
→ You may need to manually re-add custom DNS entries via the Zone Editor. -
The account’s email address and username should correspond to the new domain.
-
Some website content or media may not display correctly after the domain change.
→ In that case, contact your developer to update all hard-coded URLs and links in your website files or database. -
If the primary domain had an SSL certificate installed, it must be reissued for the new domain.
Steps to Change the Primary Domain in WHM
Step 1: Log in to WHM
Access your WHM dashboard using your root or reseller credentials.
Step 2: Open the List Accounts Section
In the Favorites or Account Information section, click List Accounts.
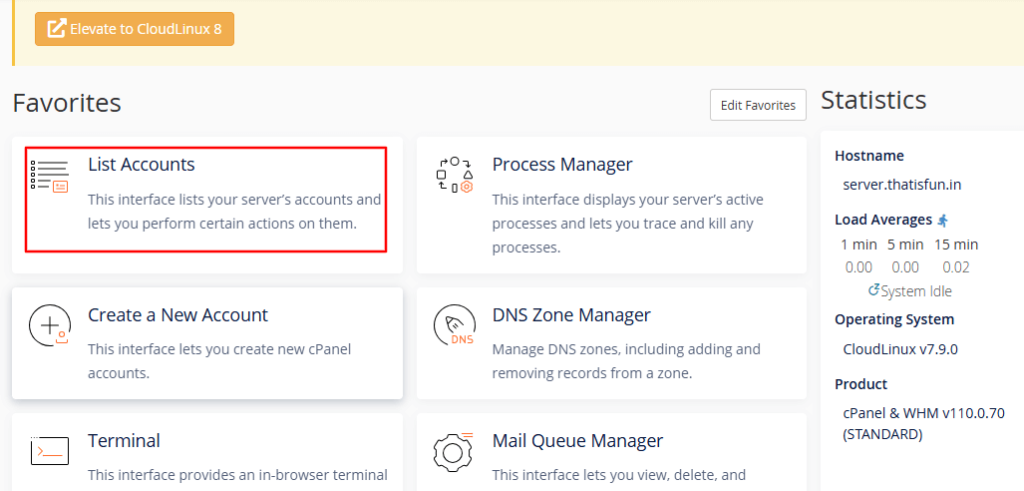
You’ll see a list of all domains hosted under your WHM.
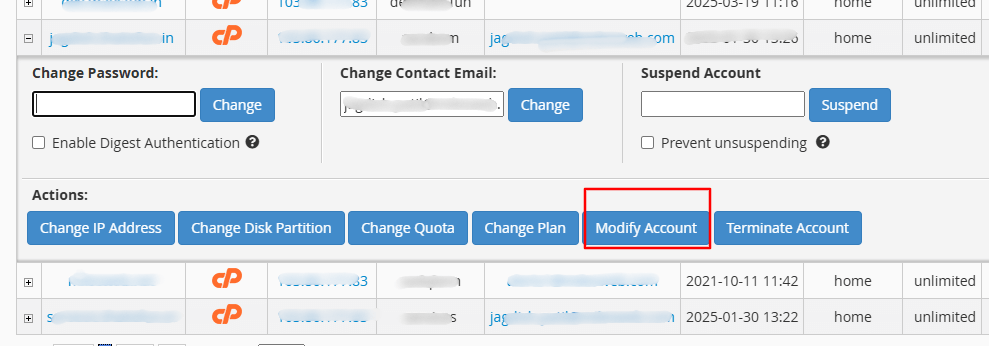
Step 3: Expand the Account Details
Click the (+) icon next to the account whose primary domain you want to change.
![]()
Step 4: Modify the Account
Click the Modify Account button to edit the account settings.
Step 5: Enter the New Domain
In the Primary Domain field, replace the existing domain name with the new one.
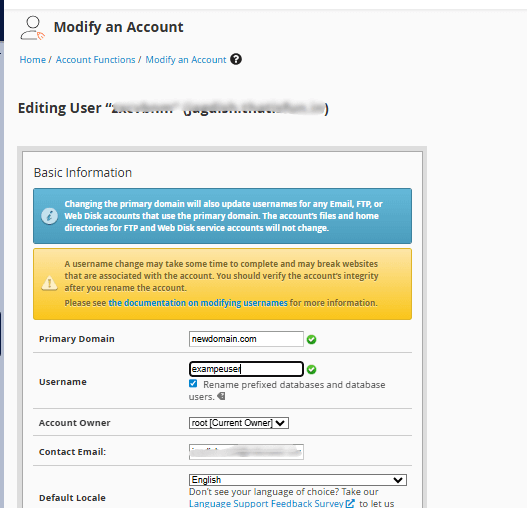
Note: Avoid changing the Username field. Altering it can break database connections or cause website configuration errors.
Step 6: Save the Changes
Scroll to the bottom of the page and click Save to apply the update.
Additional Tip
You can also create an alias (as a subdomain or addon domain) for your old domain while transitioning.
This helps maintain access and traffic during the configuration phase.
