Disabling plugins can help troubleshoot issues or improve performance. You can do it via WordPress Dashboard, cPanel File Manager, or FTP client. Always take a full backup before making changes.
1. Using WordPress Dashboard
-
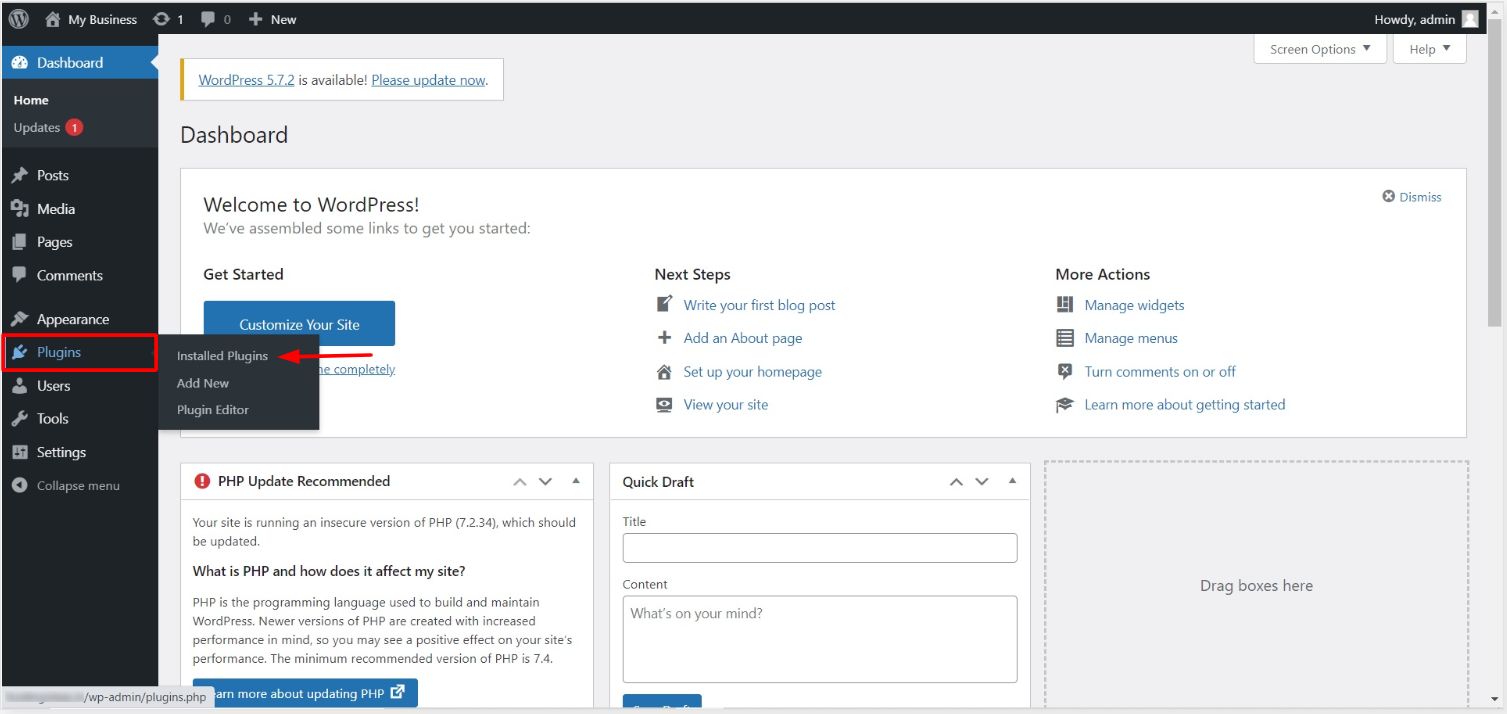
Log in to your WordPress admin panel.
-
Go to Plugins > Installed Plugins.
-
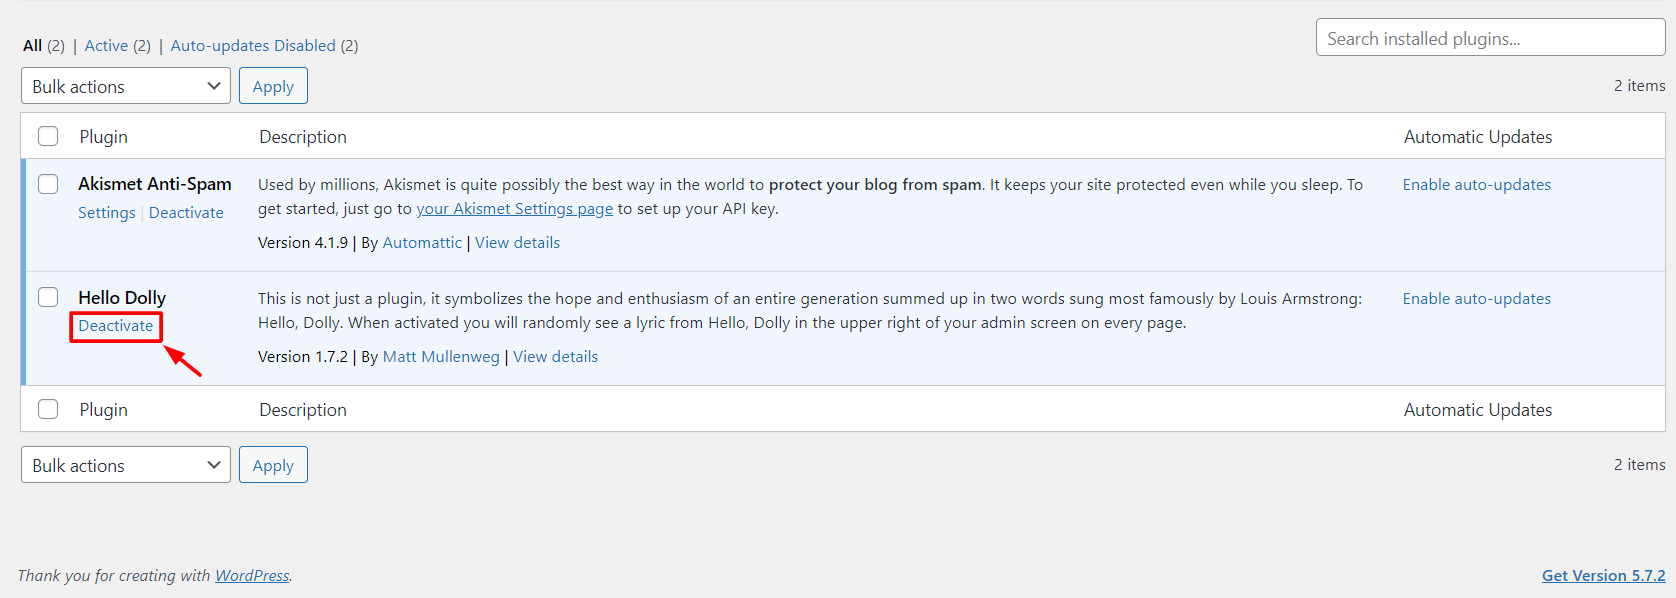
Locate the active plugin and click Deactivate.
2. Using cPanel File Manager
-
Log in to cPanel and open File Manager.
-
Navigate to your WordPress root directory → wp-content → plugins.

-
Find the plugin folder you want to disable, right-click, and select Rename.

-
Change the folder name to deactivate the plugin. (Remember the original name to reactivate later.)

Note: Some caching plugins may still be active even after renaming.
3. Using FTP Client (FileZilla)
-
Connect to your site via FileZilla.
-
Browse to wp-content/plugins.
-
Right-click the plugin folder, select Rename, and change the name.
-
The plugin will be deactivated automatically.
This method allows you to safely deactivate plugins when the admin dashboard is inaccessible or when troubleshooting site errors.
